Showing posts with label baking. Show all posts

Monday, June 18, 2012

Yummy Recipe Time (aka Baked French Toast)!!

Still pregnant! YAY!  Still on bedrest.  BOO.  I've officially dropped and my belly is VERY low.  She is sitting WAY down there and it is breaking my heart.  I am just loving every single extra day that I can get her to stay in there.  Today has been pretty contraction heavy, but I will try to keep a positive outlook for each MINUTE that I'm not delivering her, for each extra second that she grows inside my belly.

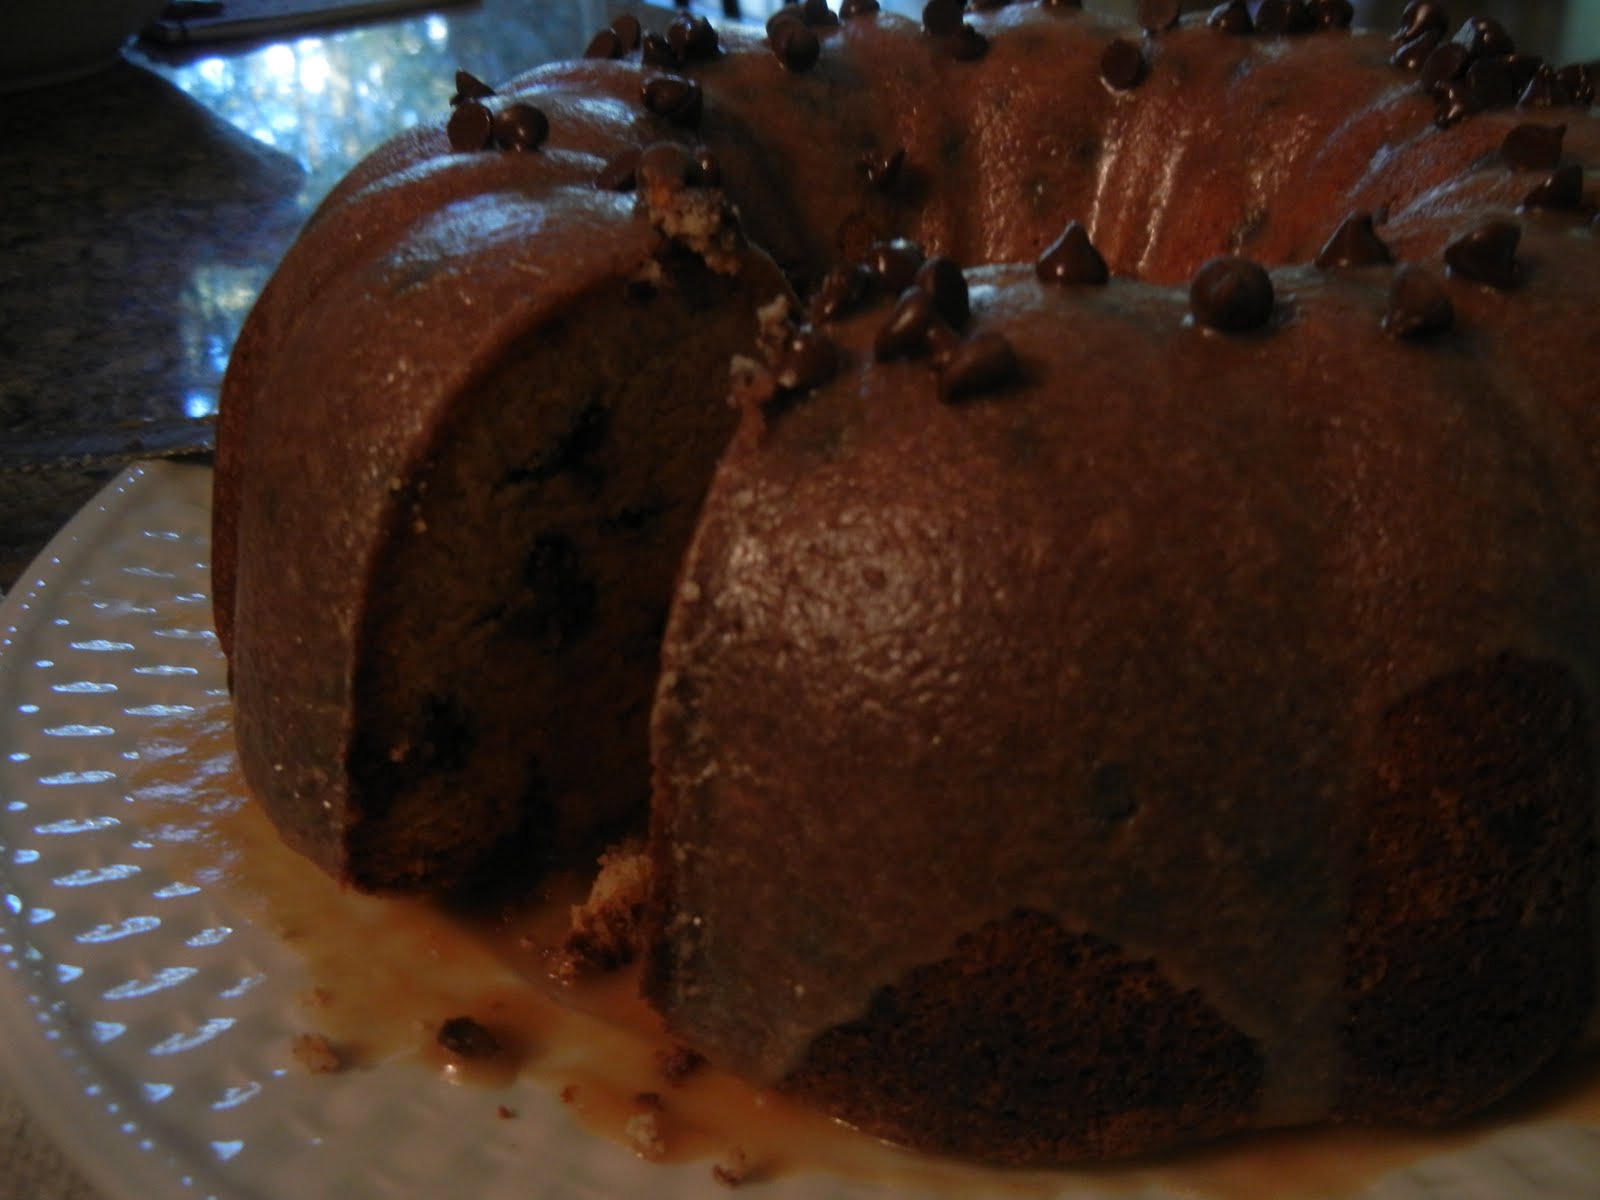
NOW for a GREAT recipe I made last week.  We had brinner which is one of my all-time favorites and it truly didn't disappoint.  ENJOY!

Ingredients:

prep time: about 20 minutes
cooking time: 45 minutes
note: you have to make this the day before or morning of

- 1 c. brown sugar (pretty packed)                                         - 1 1/2 c. milk
- one loaf of a day old french loaf bread                                - 1 T. vanilla extract
- 1 stick of butter (8 tbsp)                                                       - ground cinnamon
- 2 T. water                                                                             - powdered sugar
- 5 eggs, beaten

Recipe:

(1) Slice your french toast to nearly an inch thick.  A loaf makes 12 slices, except I'm not including the butts in that because I don't like the ends of bread.


(2) In a small pan put the brown sugar (I packed it in there pretty tightly because I really like the taste of brown sugar), butter, and water.  Then bring it to a boil on about medium high heat.  Stir it a TON to make sure that the butter isn't burning.


Yummy, look at that pretty brown sugar and better.


(3) quickly reduce the heat and simmer for 10 minutes.  You have to stir a lot here too because it will boil over and would burn the butter if you're not careful. 

(4) Take a separate bowl and put the milk, eggs, and vanilla in it. 


(5) Put the brown sugar mixture at the bottom of a greased pan.  It has to be pretty big, at LEAST 9 by 13".


(6) Squeeze the bread on top of the brown sugar mixture.  Then, pour the milk mixture on top of the bread.


(7) Refrigerate this overnight (or make this in the morning and have it in fridge until you're going to eat brinner like I did!)

(8) When you're ready to eat, take this out of the oven 20 minutes before putting it in oven and sprink ground cinnamon on top. Then cook in a 350 degree oven for 20 minutes covered with foil.  Then take the foil off and cover for another 25 minutes.  Then DEVOUR!

Wednesday, February 29, 2012

Chocolate-Covered Oreo Cookie Cake

Boy do I have a treat for you guys today.  Yesterday was my hubby's birthday and as you know, I would do just about anything for that man.  So when he asked me for my infamous "OREO CAKE PLEASE!" I couldn't say no.

And once we tried some last night, Liliana let out the biggest "YUM!!!!" that you've ever heard.  That's when I knew it was time to share the love.

Unfortunately I didn't snap a photo before we took a HUGE chunk out of the cake, but Evan took one with his cell phone (he posted it on facebook ... that's how much the guy liked it) and that's the best shot I've got to share!  You can still tell it's awesome though ... that inside is all yummy oreo frosting/ filling.  I tell Evan this cake is right up his alley because it's like icing with a side of cake. ; )


Ingredients:


1 pkg. devil's food cake mix                                                               1/2 c. sugar

4 squares Baker's semi-sweet chocolate                                             2 c. thawed Cool Whip topping

1/4 c. butter                                                                                         15 oreo cookies, crushed

1 pkg. (8 oz) cream cheese, softened

Directions:

Heat oven to 350 degrees.

Prepare cake batter as directed on box and bake in 2 9 inch round pans.  Cool the cakes in the pans for 12 minutes.  Then invert them on to cooling racks and allow to cool COMPLETELY (I wait about 10 minutes after they're on the wire racks and then start making the inner filling)


Microwave butter and chocolate in the microwave for about 90 seconds or until you can stir the two together and have the chocolate glaze.  Cool for 5 minutes.

Meanwhile, beat the cream cheese, sugar, and cool whip with an electric mixer.  Then add the crushed oreos (I simply put them in a bag and crush them). 

Place one cake layer (top down) and top with the entire oreo cream cheese mixture.  Place the other half on top (top up) and pour the chocolate glaze on top.  Let it stand for 15 minutes.

IMPORTANT step:  PUT in refrigerator!  The cake is good when you finish after the step above, but the real treat is when it's cold.  Trust me, I'm a fan of warm cakes, but this one tastes AMAZING when the chocolate is hard and that cream cheese mixture had time to solidify with the cake.

ENJOY!


Friday, November 18, 2011

Thanksgiving Desserts

The three of us are traveling home for Thanksgiving on Monday afternoon.  We're pretty darn excited.  This will be Evan's first vacation time in nearly 5 months.  He definitely deserves it. 

Since we're flying home, I obviously won't be in charge of bringing a big turkey. 

Instead ... I am the "Dessert gal."

That's right, I am completely in charge of desserts this Thanksgiving.  We have a pretty big number of people coming over for dinner and a big range of ages: 18 months (Liliana dearest) - grandpa (93!).  In other words, I have to make desserts that will please all pallets.

I've decided three desserts should be sufficient and don't want all of them to be too darn similar (in other words, no pumpkin pie, pumpkin bread, and pumpkin cake please).  I also won't have that much of a time frame to work with because I have to share the kitchen with my Mom who makes about a trillion things throughout the day.  Enter pinterest.

My Thanksgiving Dessert Menu will consist of:

(1) Pumpkin Spice Rice Krispie Treats
(2) 4- layer Pumpkin Cake; AND
(3) Brownie Chocolate Pecan Pie

Behold:

(1) Pumpkin Spice Rice Krispite Treats:  These are th EASIEST to make.  Just go to Walmart and buy some Pumpkin Spice Marshmallows.


Then, put the marshmallows on top of all your melted butter...


And melt those, put in your rice krispies, and VOILA ...


As you can tell by the picture in the background, I made this as a Halloween dessert, but it works for Thanksgiving too!

(2) 4-layer Pumpkin Cake.  YUM.  LOOK:


This one isn't difficult to make, even though it looks complicated.  But it is scrumptious.

Recipe found here.

(3) Chocolate Brownie Pecan Pie

Out of all the recipes, this is the one I'm the most excited for.  I have a feeling people will be licking their fingers after eating some of this.  To make it even better, I am using FRESH pecans from Evan's grandpa's yard.  That will only make it even better!


Recipe found here.

Am I missing an essential item?  Should I include something else?  This holiday baking stuff is fun but kind of stressful at the same time!

For Christmas, I plan on making LOTS of fudge and cookies, but what am I doing??? We don't talk about Christmas until thanksgiving is done!  Hmm ... wonder what I'll be talking about on Friday? ; )

In the mean time, happy thanksgiving!

Thursday, August 4, 2011

Can't Stop Eating: Cinnamon Roll Pulls Recipe

Lately, I've been a wee-bit addicted to Pinterest.  My best friend told me about it and darn her ... I couldn't stop pinning things!  Find my boards here.

Anyway, if you read my blog then you know I love cooking and baking.  After working out, it is my biggest hobby (ironic I know I know!)

Pinterest has been amazing because I had a word document with all these recipes I would see when browsing the web and now I have it available whenever I want it.  A few days ago, while at Kroger, I remembered a recipe for Cinnamon Roll Pulls that I had from this great blog.  I HAD to make it.  The evil Cinnamon Roll gods made me!

And after I made THIS ... well you see why I had to share the recipe with you guys.  It's very similar to the link I put above, but I did make a few adjustments to it ...


Cinnamon Roll Pulls:

Ingredients:
1 UNSLICED round loaf of sourdough bread
1/2 c. butter, softened
1/4 c. powdered sugar
1/3 c. honey
1 1/2 tsp. vanilla extract

3/4 c. sugar
1 1/2 tsp. cinnamon

1 1/4 c. powdered sugar
1 tbsp. milk

Directions:

(1) Preheat oven to 350 degrees.
(2) Make the vanilla honey butter: whip butter and 1/4 c. powdered sugar until smooth.  Stir in the vanilla and honey and set it aside while you cut the bread.
(3) Cut the bread in slices (about 1/2" thick) but DO NOT cut all the way through.  Turn the bread 90 degrees and cut again.  This will start getting a little messy, but it's ok, just keep going.
(4) Spread the vanilla honey butter through the slices.  Try and get deep in to those crevices.  Put as much as you would like.  If you think there's enough, don't use all of the butter, but do remember to get plenty.
(5) Mix the cinnamon and sugar and put this through the slices as well.  Again, use as much as you think looks appetizing.
(6) Wrap the loaf in foil, put it on a cookie sheet, and put in the oven for approximately 30 minutes. Trust me you want it nice and warm and gooey.


(7) AFTER it is done in the oven, prepare the glaze that goes on top by combining the milk and powdered sugar.  Use more milk or more powdered sugar to get the consistency you would like.

(8) Kick your husband's butt for taking pictures of your butt while  baking (that picture not posted here ... don't want to give y'all nightmares now!).  Then give him a kiss for having taken a picture of you preparing the glaze.
(9) Drizzle that icing over the loaf.
(10) Devour.

Wednesday, July 20, 2011

Chocolate Chip- Peanut Butter Pound Cake with Peanut Butter Glaze

I am sharing for you one of the best recipes I have EVER made for the Weekend Wrap-Up.

Last week, I was looking over recipes while Evan was falling asleep next to me (what we do every night now since he wakes up at 4:03 every single morning).  He was about to fall asleep when he saw this recipe and told me "you would officially be the sexiest woman EVER if you made me that recipe!" haha.  SO, of course I had to bake it the next day!


Ingredients:

Cake: 
- 3 c. all-purpose flour                                            - 6 large eggs
- 1 teaspoon baking powder                                     - 2 teaspoons vanilla extract
- 1/2 teaspoon salt                                                  - 1 1/2 c. chocolate chips
- 1 c. creamy peanut butter (don't use natural)          - 1/2 c. butter, room temperature
- 3 c. granulated white sugar

Glaze: 
- 1 1/2 c. sifted powdered sugar                             - 1/2 teaspoon vanilla extract
- 1/4 c. milk                                                         - 1/4 c. mini chocolate chips
- 1/4 c. creamy peanut butter


Directions:


(1) Preheat oven to 325 degrees. Spray a 10 c. tube/ bundt pan generously with nonstick spray.
(2) Prepare cake: in a medium bowl, whisk together flour, baking powder, and salt; set aside.  In a large bowl, use an electric mixer to cream together peanut butter and butter.  Add sugar and beat an additional 5 minutes.  Add eggs and vanilla; beat until well combined.  Add dry ingredients a little at a time, beating until just incorporated.  Stir in chocolate chips.  Scrape batter into pan.  Tap it a couple of times on the counter to shake out air pockets.
(3) Bake 1 hour and 20 minutes, checking on the cake at 1 hour (mine took a total of 1 hour and 5 minutes) to make sure it's not too brown.  If browning too quickly, just place a piece of foil loosely over the top of the pan.  When a toothpick is inserted into the center of the cake and comes out clean, the cake is done.  Let cool for 20 minutes, then flip it onto a rack or platter and let it cool completely.
(4) Glaze: in a medium bowl, whisk together powdered sugar, milk, peanut butter, and vanilla until smooth.  Drizzle glaze over the top of the cooled cake, letting it drizzle down the sides.  Sprinkle chocolate chips on top.  Glaze will set eventually.

ENJOY!  Guys, I promise you this recipe is OUTSTANDING.  After Evan tried it, he told me it was OFFICIAL, I was the sexiest girl on earth!

What can I say?

I know the way to his heart ...

peanut butter.


Wednesday, April 27, 2011

In Another Life

In another life, I'd own a bakery store.  The name of it: "One of those days."  Because after all, that's what desserts are for ... when you've just had one of those days and a slice of cake, or a scrumptious cupcake would make all those woes seem a little bit better.

I honestly love baking.

The hours to open this kind of shop would suck because you have to get up so darn early, but I just think it's something I would love doing.  I love discovering new recipes, and most of all, I love the look that people give me when they eat a dessert I've made.

I have it all planned out:  I wouldn't just open it from 10 - 6 like so many bakeries around.  It would be more of a 11:30 - 9 pm shop.  I think there's a big void for a dessert shop that's open later in the day.  Have you guys ever been sitting at home and say "I want dessert!"  That happens to me ALL the time but I'm limited to ice cream at the grocery store OR I have to start making a cake at 8 pm knowing full well that by the time it's done, I'll be ready to go to sleep! 

And if there was a shop with things such as ...


this available at 9:00 pm, wouldn't you desperately want a slice?

I'd make cakes such as:

 this chocolate indulgence cake ...

my delicious carrot cake that Evan drools over ...

OR my favorite cake that I've ever made ... Banana Sour Cream.

I wouldn't be limited to just cakes though. I have quite a fascination with cupcakes as well.  In fact, so much of a fascination that cupcakes is the theme of Liliana's first birthday party!  I'd DEFINITELY include these on the menu:

these Chocolate Chip Cookie dough cupcakes are TO DIE FOR.

Maybe one day I'll open "One of Those Days." 

In the mean time, I'll just keep prepping and experimenting in my own kitchen!